
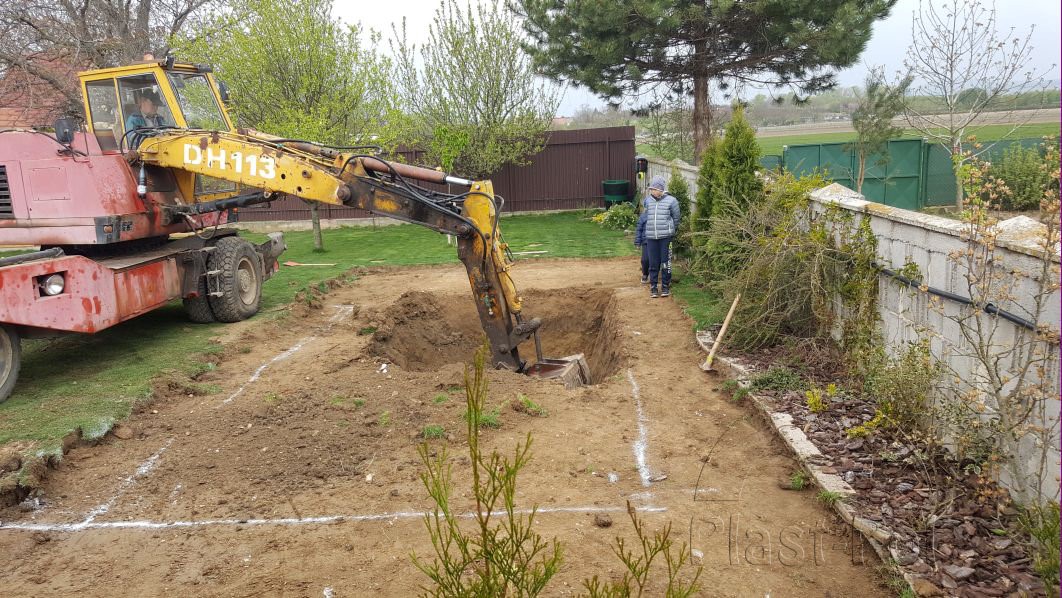
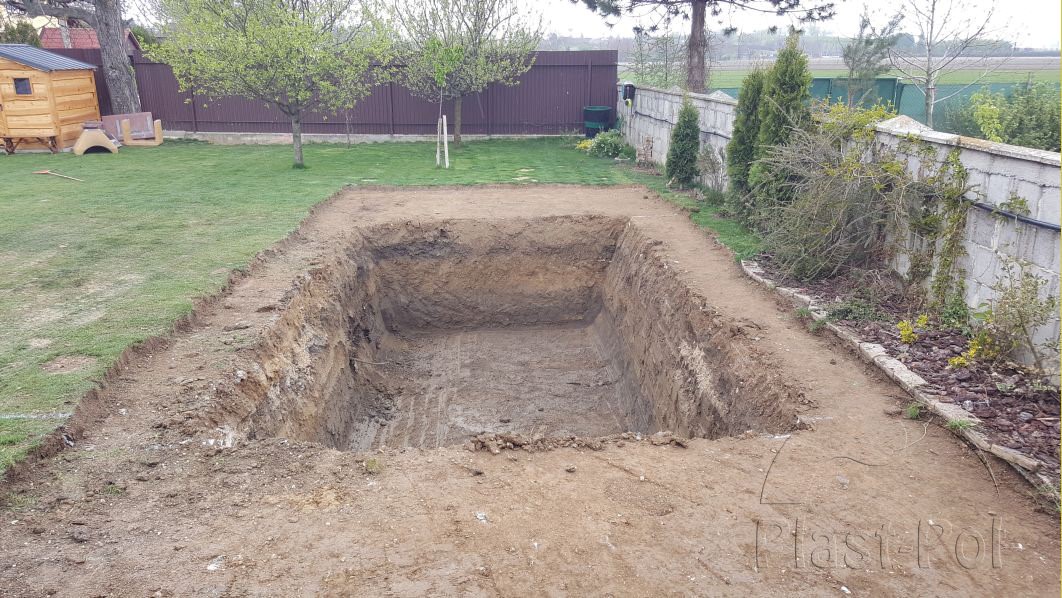
I PREPARATION
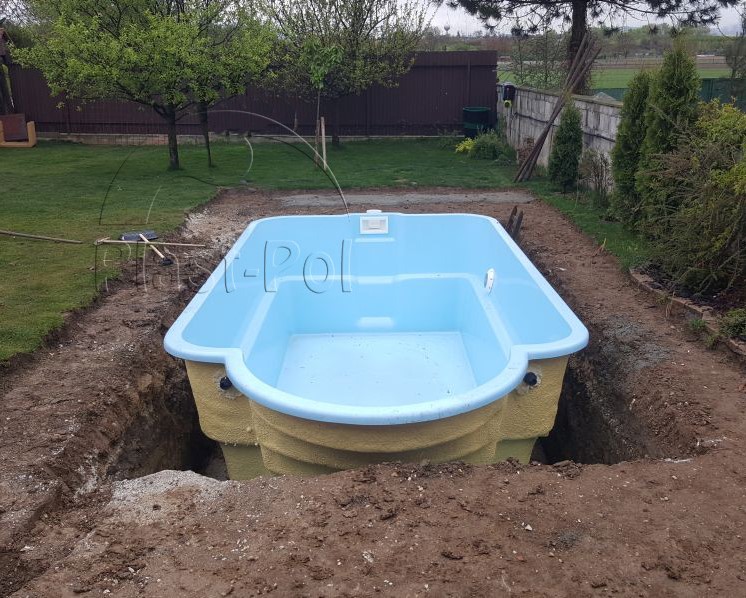
1. At a predetermined location, dig a pit with a depth corresponding to the height of our pool (take into account the spout, styrofoam, and the flange protruding above the ground level). We enlarge the excavation by 15 cm from the pool basin on each side (assembly of piping).
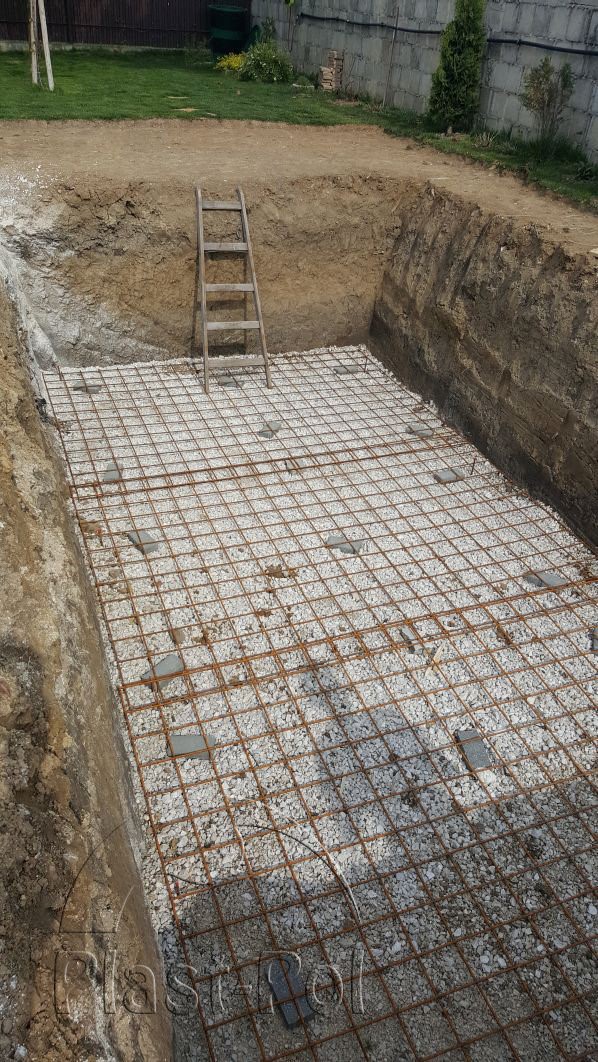
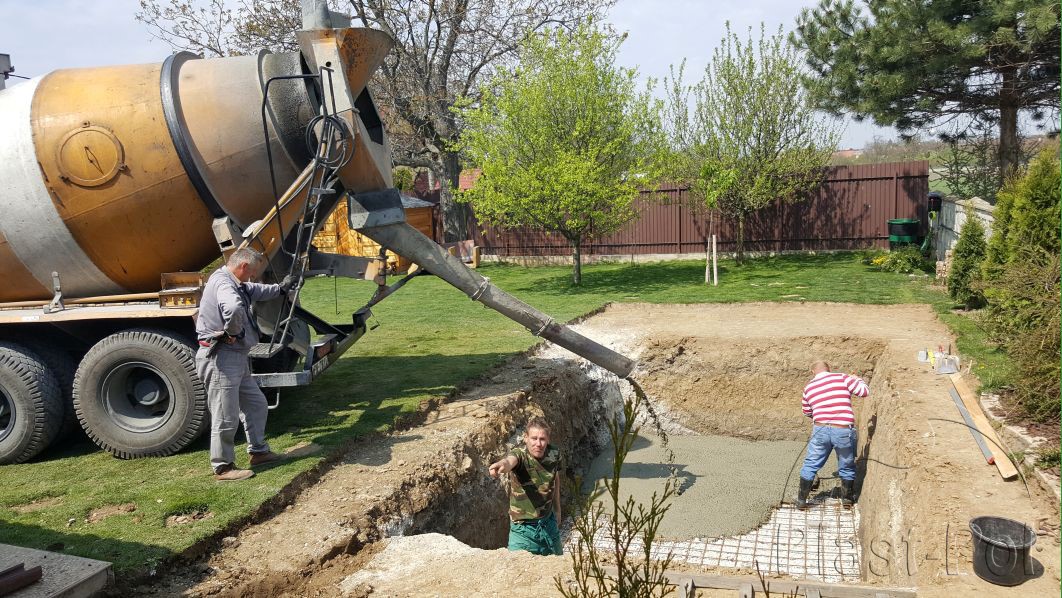
2. At the bottom of the excavation, we make a concrete spout (bottom plate) with a thickness of 10-15cm (the spout should be set). We lay a hard polystyrene FS-20 with a thickness of + 5 cm on the screed.
In the case of ground or layered water in impermeable soils (clay, clay), a layer, well-compacted coarse sand, 20 cm thick, and a drainage band should be placed under the bottom plate. It is recommended to make a bottom plate above groundwater.
II. POOL INSTALLATION
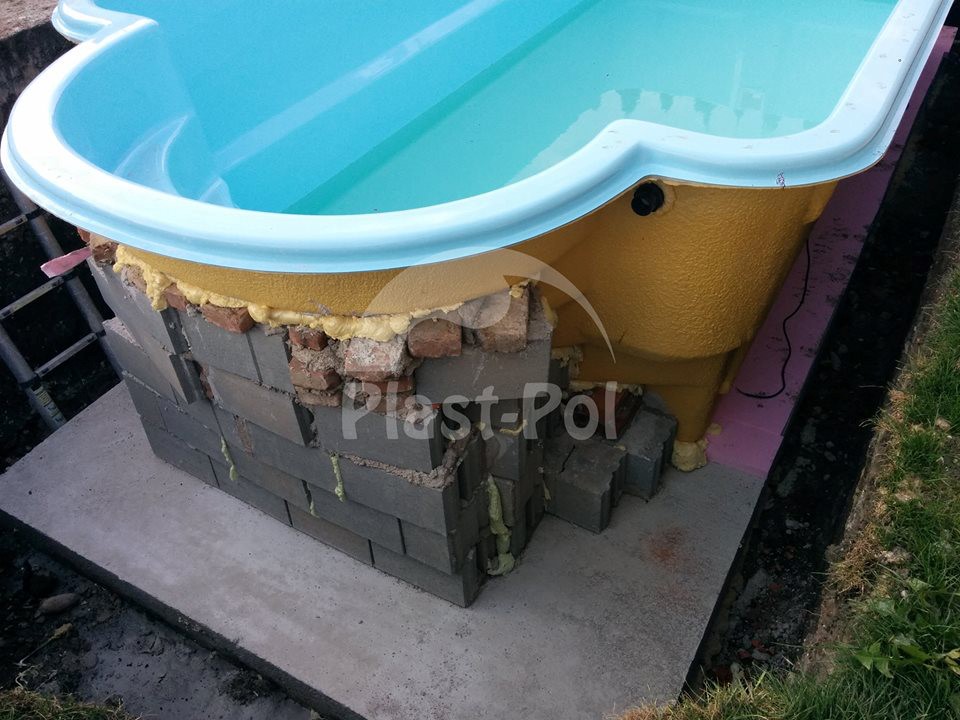
1. Insert a pool into the prepared excavation. Under the steps of stairs, we make a foundation for concrete blocks, checking their level with respect to the walls, and the gap between the contact of stairs and blocks is filled with foam or we wedge around the whole circumference.
-
When showering the pool, the water level in the pool should be a little higher than the external topping.
-
Particular attention should be paid to the sides of the pool have their natural shape (in particular longer sides), i.e. too strong whipping the backfill will cause the walls to be pressed inside the pool, too loose sprinkling will cause the walls to deform outside. In the case of a high level of groundwater, drainage around the pool should be performed.
-
All work should be consulted with a construction specialist who knows the local ground conditions.
2. Pour about 20-30cm of water into the pool.
3. We cover the sides of the pool with dry sand and cement mortar 1-5 to the level of water in the pool. Pour the mortar over the water to thicken it and adapt it to the walls of the pool.
4. Repeat steps 2 and 3 until the pool is full.
III. ASSEMBLY INSTALLATION
Such a fitted connection should be held for 15-30 seconds in order to prevent the pipe from slipping off the connector (the time after which the joint obtains the proper strength depends on the temperature).
After finished gluing, we continue to cover the pool until it is completely filled with water.
IV. FILTRATION STUDY
1. The bottom of the pit should be made as a concrete screed, reinforced mesh. The walls are made of concrete blocks. Cover made of galvanized steel with a thickness of 3mm.
2. Feed the electricity supply to the pit.
Work on the well should be carried out after installing the pool basin.


